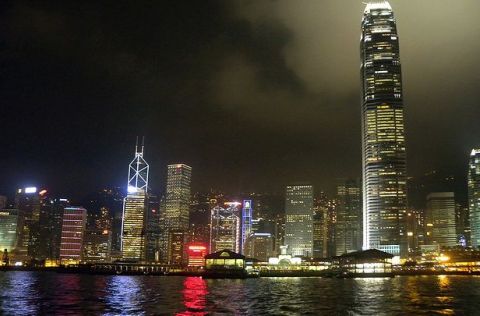
In my experience, majority of consumers are purchasing new digital camera in order to capture their unforgettable vacations or trips. As you may know, the easy-to-operate, compact and user-friendly digital cameras are contributing to major slice of the digital photography market, as most people say no to the bulky but powerful dSLR (digital SLR) cameras along their journey. Without doubt, the compact and simple-to-use digital camera is so convenient to bring around as it fits into your pocket, but it is quite hard to achieve a perfect and stunning night shot in the event where you want to capture a beautiful night landscape images during the vacation.

Anyway, here is some basic, simple guides and tips to help you capture good photos in low light conditions.
You are strongly advisable to switch on indoor lights and camera flash for added lighting source while you capture your precious moment inside a room or any other places. However, do note that camera flash can sometimes distort the ambiance and cool the warmness of the pictures taken. So, whether to use the camera flash depends on what mood of the photo you want.
Sometimes, with built-in flash set to on, the shutter speed is automatically set to very high speed of 1/50s or higher in Auto mode. It causes the background to appear darker, or even totally black in the captured photo. Thus, if your digital camera can set the shutter speed manually, try to slow the shutter speed in order to capture more ambient and background light. In addition, not all low-light condition needs the use of camera flash, as the flash just can reflect nearby object.
Besides, ISO setting that controls the light sensitivity is also important for poor-light photography. Although most camera features Auto ISO, but it is better to manually adjust ISO value according to lighting conditions. Try setting to high ISO for a dark scenes.
For your knowledge, the camera needs to set slower shutter speeds and larger aperture for exposing to more light, since more light was required for night photography. While the shutter stays open for more longer time, it is more chance to get your photo blur caused of hand shaky issue in this period. That’s why you normally notice that taking photo at night or dark environment is a hard mission.
Normally, the simple-to-use camera has no manual controls on shutter speed and aperture, while both of the photography features are integrated into an array of scene modes. So you can just go straight to night mode, night landscape mode and so forth before starting a night photography. In my opinion, small tripod is a very important key factor to snap a nice photo at night or indoors, preferably with self-timer setting so that there is no risk of little hand shaky even while releasing the shutter – it is very difficult to keep your hand 100% stable, so a stand is strongly recommended to achieve a good quality low-light shot.
For people who really know nothing or not sure on operation of digital camera, they are advised to try the camera’s scene mode one by one for confirming which mode is most suitable for the environment.
Tip: In the situation that the tripod is not around, you can try to find the safe flat surface (such as table) as a workaround to replace tripod stand.
With the simple guide above, hopefully the best scenes anytime day and night can be captured. Of course, if you have a more advanced dSLR camera, more settings can be changed to get a perfect a photo, but that’s out of the scope of this article on taking good low lighting photos quickly for now.