Many people create a favicon which also known as a website icon, page icon or urlicon to associate it with their own webpage. It is somehow an identity or a logo representing a website. Favicon is quite popularly used nowadays. Web designers will create their preferred favicons and users can see them in the browser’s URL bar, next to the site’s name in lists of bookmarks, and next to the page’s title in a tabbed document interface. Technically to create a favicon or even an animated favicon is not that complicated and difficult. You can create your own favicon and make your webpage or blogs looks more professional and more interesting via a useful online free service, FavIcon from Pics.
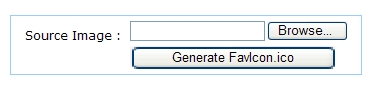
FavIcon from Pics allow users to create their favicon via a very simple mechanism. What an user need to do is just log in to the website, select a picture, logo or other graphic for the “Source Image” and click “Generate FavIcon.ico” Within a few seconds, the user will get a favicon file that’s based on the selected image.
To add the favicon created to the webpage, there is instruction from the page to lead the user. In this case, the user need to:
• Click “Download FavIcon” and open the package. favicon.ico is included in it.
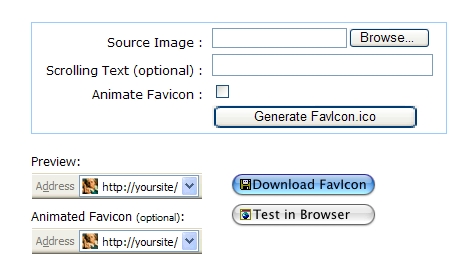
• Upload the favicon.ico file to the folder on the user’s web site where user has the web page.
• Add the following HTML tag to the user’s web page after the
tag, before the tag:It’s done!
To test the new favicon in Internet Explorer, the user can add his site to Favorites and reopen the page. To test it in Firefox or other Mozilla-based browser, simply open the user’s web page and watch the address bar or the page tab.
 Tip and Trick
- How To Download HBO Shows On iPhone, iPad Through Apple TV App
- Windows 10 Insider Preview Build 19025 (20H1) for PC Official Available for Insiders in Fast Ring – Here’s What’s News, Fixes, and Enhancement Changelog
- Kaspersky Total Security 2020 Free Download With License Serial Key
- Steganos Privacy Suite 19 Free Download With Genuine License Key
- Zemana AntiMalware Premium Free Download For Limited Time